Allow Users to Change Passwords
For our Serverless notes app, we want to allow our users to change their password. Recall that we are using Cognito to manage our users and AWS Amplify in our React app. In this chapter we will look at how to do that.
For reference, we are using a forked version of the notes app with:
- A separate GitHub repository: https://github.com/AnomalyInnovations/serverless-stack-demo-user-mgmt-client
- And it can be accessed through: https://demo-user-mgmt.serverless-stack.com
Let’s start by creating a settings page that our users can use to change their password.
Add a Settings Page
 Add the following to
 src/containers/Settings.js.
import React, { Component } from "react";
import { LinkContainer } from "react-router-bootstrap";
import LoaderButton from "../components/LoaderButton";
import "./Settings.css";

export default class Settings extends Component {
  constructor(props) {
    super(props);

    this.state = {
    };
  }

  render() {
    return (
      <div className="Settings">
        <LinkContainer to="/settings/email">
          <LoaderButton
            block
            bsSize="large"
            text="Change Email"
          />
        </LinkContainer>
        <LinkContainer to="/settings/password">
          <LoaderButton
            block
            bsSize="large"
            text="Change Password"
          />
        </LinkContainer>
      </div>
    );
  }
}
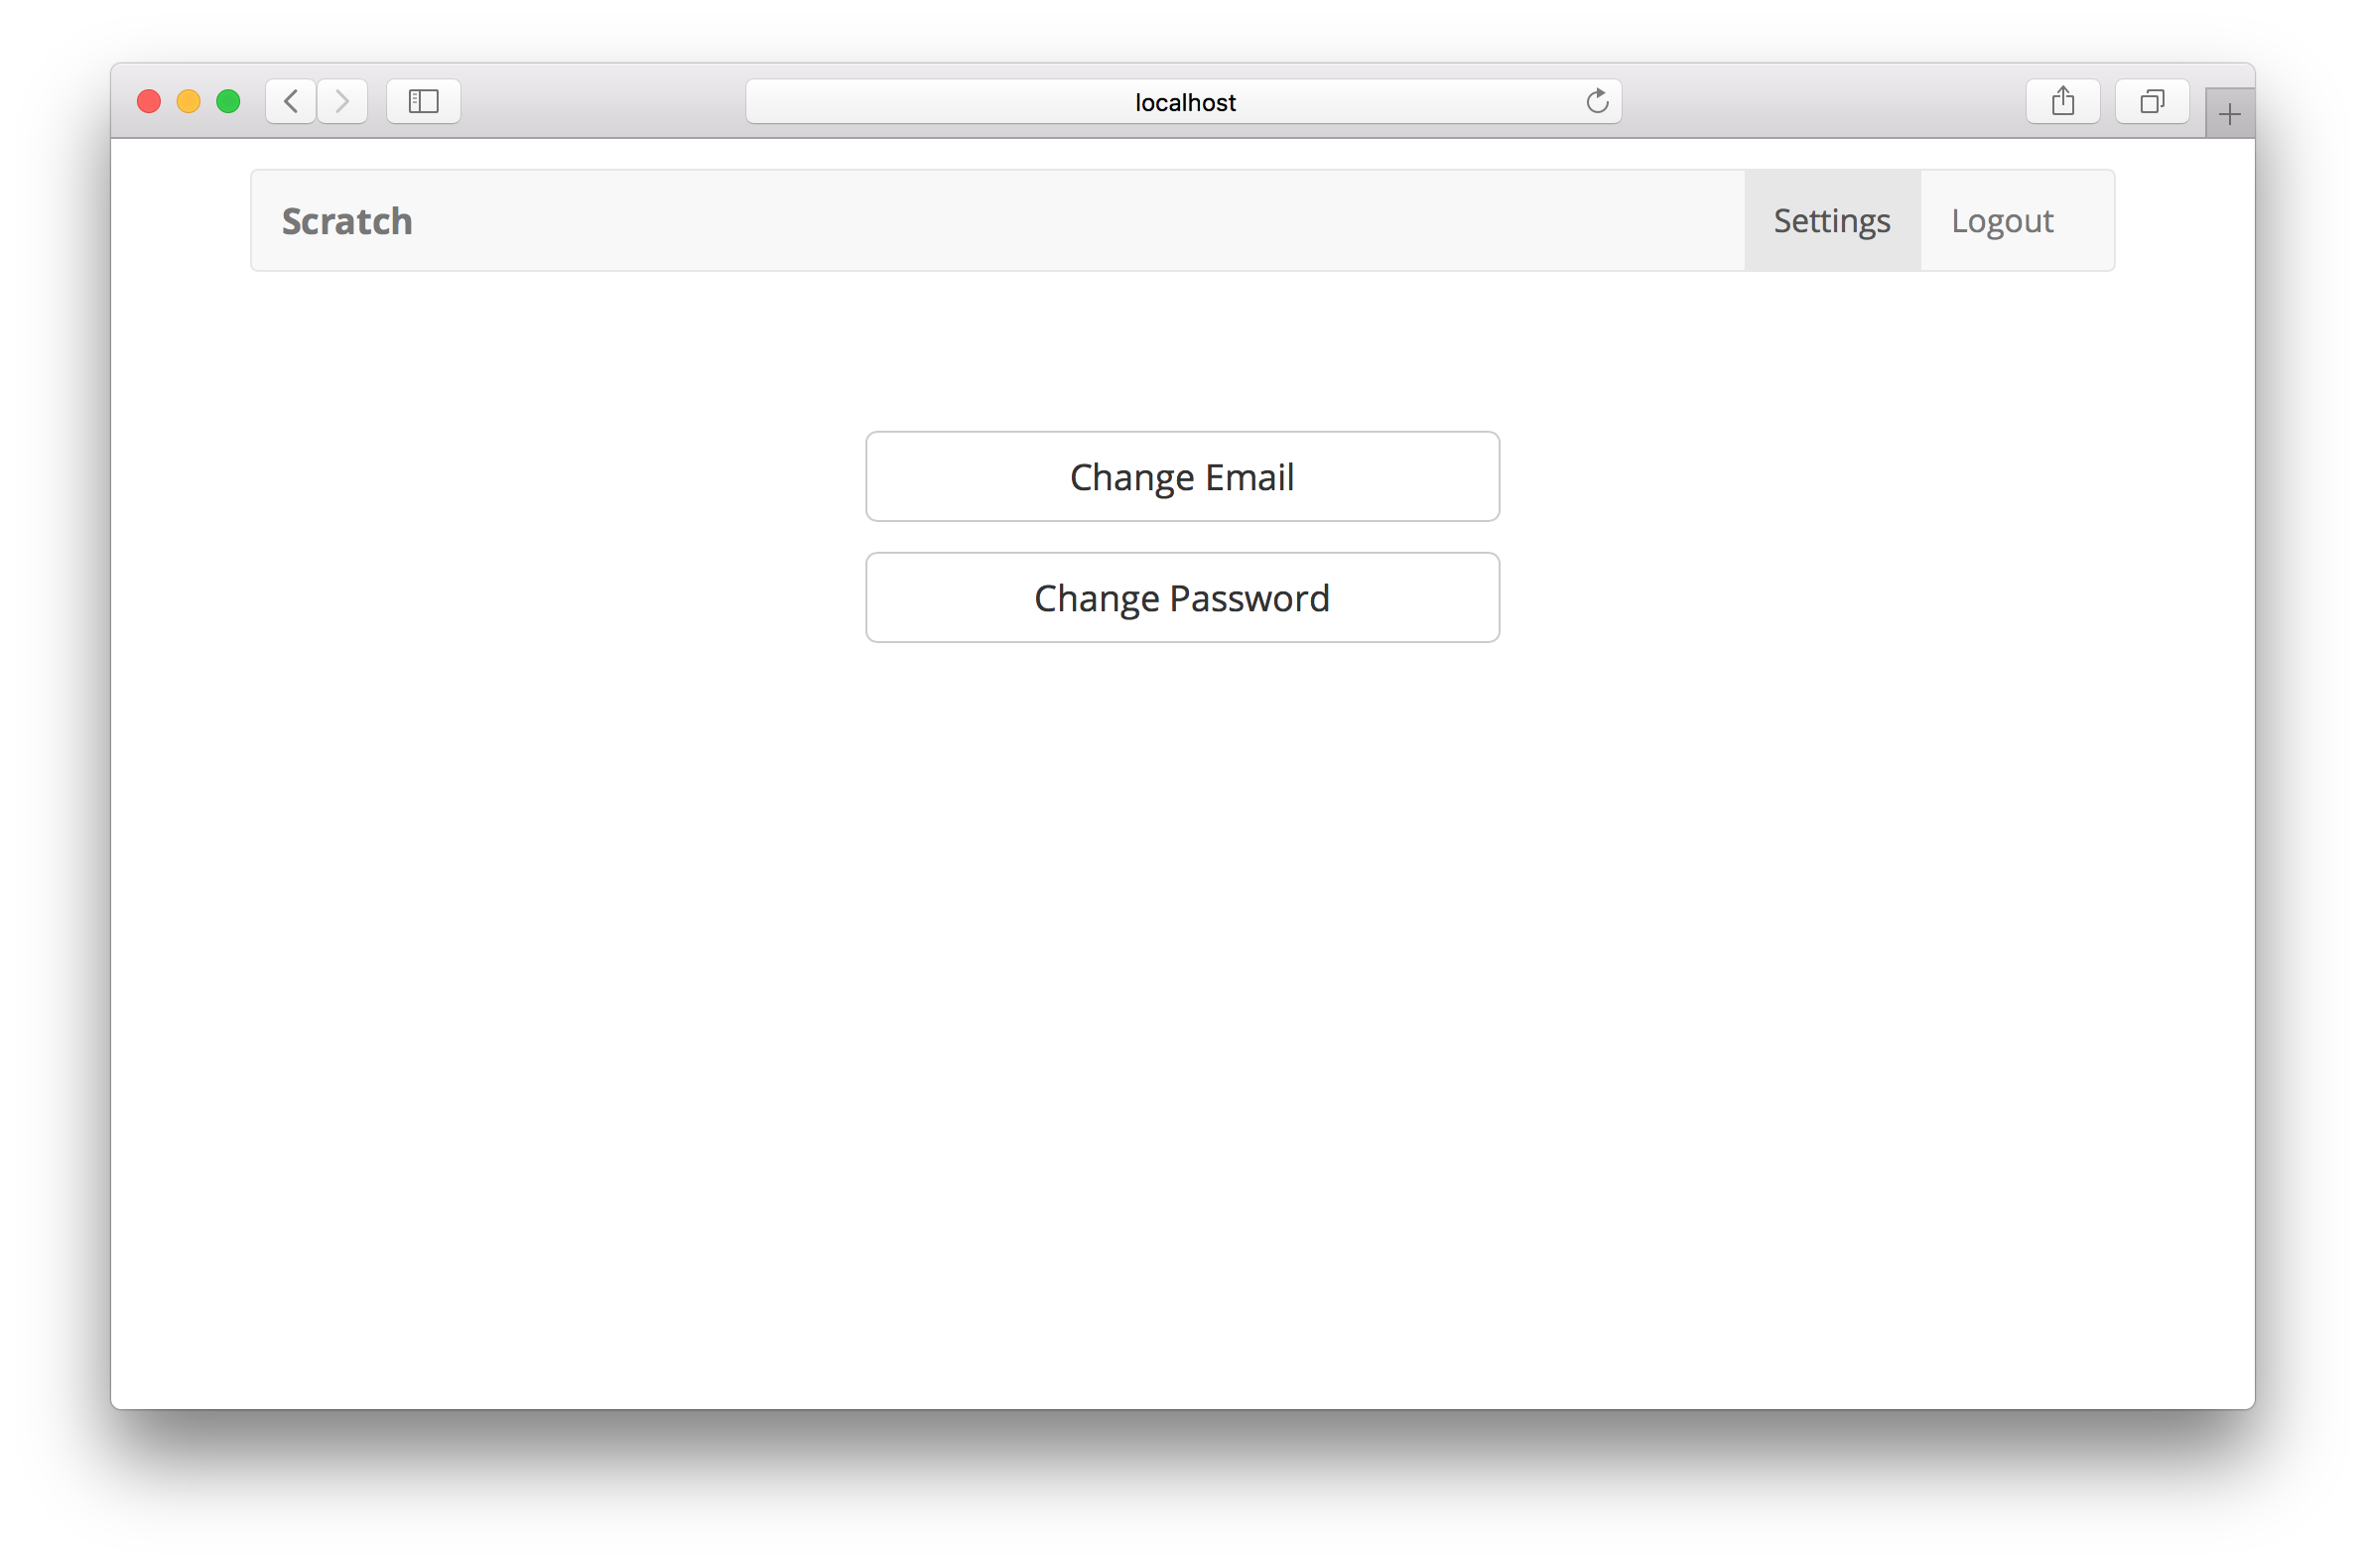
All this does is add two links to a page that allows our users to change their password and email.
Let’s also add a couple of styles for this page.
@media all and (min-width: 480px) {
  .Settings {
    padding: 60px 0;
    margin: 0 auto;
    max-width: 320px;
  }
}
.Settings .LoaderButton:last-child {
  margin-top: 15px;
}
Add a link to this settings page to the navbar of our app by changing src/App.js.
<Navbar fluid collapseOnSelect>
  <Navbar.Header>
    <Navbar.Brand>
      <Link to="/">Scratch</Link>
    </Navbar.Brand>
    <Navbar.Toggle />
  </Navbar.Header>
  <Navbar.Collapse>
    <Nav pullRight>
      {this.state.isAuthenticated
        ? <Fragment>
            <LinkContainer to="/settings">
              <NavItem>Settings</NavItem>
            </LinkContainer>
            <NavItem onClick={this.handleLogout}>Logout</NavItem>
          </Fragment>
        : <Fragment>
            <LinkContainer to="/signup">
              <NavItem>Signup</NavItem>
            </LinkContainer>
            <LinkContainer to="/login">
              <NavItem>Login</NavItem>
            </LinkContainer>
          </Fragment>
      }
    </Nav>
  </Navbar.Collapse>
</Navbar>
Also, add the route to our src/Routes.js.
<AuthenticatedRoute
  path="/settings"
  exact
  component={Settings}
  props={childProps}
/>
And don’t forget to import it.
import Settings from "./containers/Settings";
This should give us a settings page that our users can get to from the app navbar.
Change Password Form
Now let’s create the form that allows our users to change their password.
Add the following to src/containers/ChangePassword.js.
import React, { Component } from "react";
import { Auth } from "aws-amplify";
import { FormGroup, FormControl, ControlLabel } from "react-bootstrap";
import LoaderButton from "../components/LoaderButton";
import "./ChangePassword.css";

export default class ChangePassword extends Component {
  constructor(props) {
    super(props);

    this.state = {
      password: "",
      oldPassword: "",
      isChanging: false,
      confirmPassword: ""
    };
  }

  validateForm() {
    return (
      this.state.oldPassword.length > 0 &&
      this.state.password.length > 0 &&
      this.state.password === this.state.confirmPassword
    );
  }

  handleChange = event => {
    this.setState({
      [event.target.id]: event.target.value
    });
  };

  handleChangeClick = async event => {
    event.preventDefault();

    this.setState({ isChanging: true });

    try {
      const currentUser = await Auth.currentAuthenticatedUser();
      await Auth.changePassword(
        currentUser,
        this.state.oldPassword,
        this.state.password
      );

      this.props.history.push("/settings");
    } catch (e) {
      alert(e.message);
      this.setState({ isChanging: false });
    }
  };

  render() {
    return (
      <div className="ChangePassword">
        <form onSubmit={this.handleChangeClick}>
          <FormGroup bsSize="large" controlId="oldPassword">
            <ControlLabel>Old Password</ControlLabel>
            <FormControl
              type="password"
              onChange={this.handleChange}
              value={this.state.oldPassword}
            />
          </FormGroup>
          <hr />
          <FormGroup bsSize="large" controlId="password">
            <ControlLabel>New Password</ControlLabel>
            <FormControl
              type="password"
              value={this.state.password}
              onChange={this.handleChange}
            />
          </FormGroup>
          <FormGroup bsSize="large" controlId="confirmPassword">
            <ControlLabel>Confirm Password</ControlLabel>
            <FormControl
              type="password"
              onChange={this.handleChange}
              value={this.state.confirmPassword}
            />
          </FormGroup>
          <LoaderButton
            block
            type="submit"
            bsSize="large"
            text="Change Password"
            loadingText="Changing…"
            disabled={!this.validateForm()}
            isLoading={this.state.isChanging}
          />
        </form>
      </div>
    );
  }
}
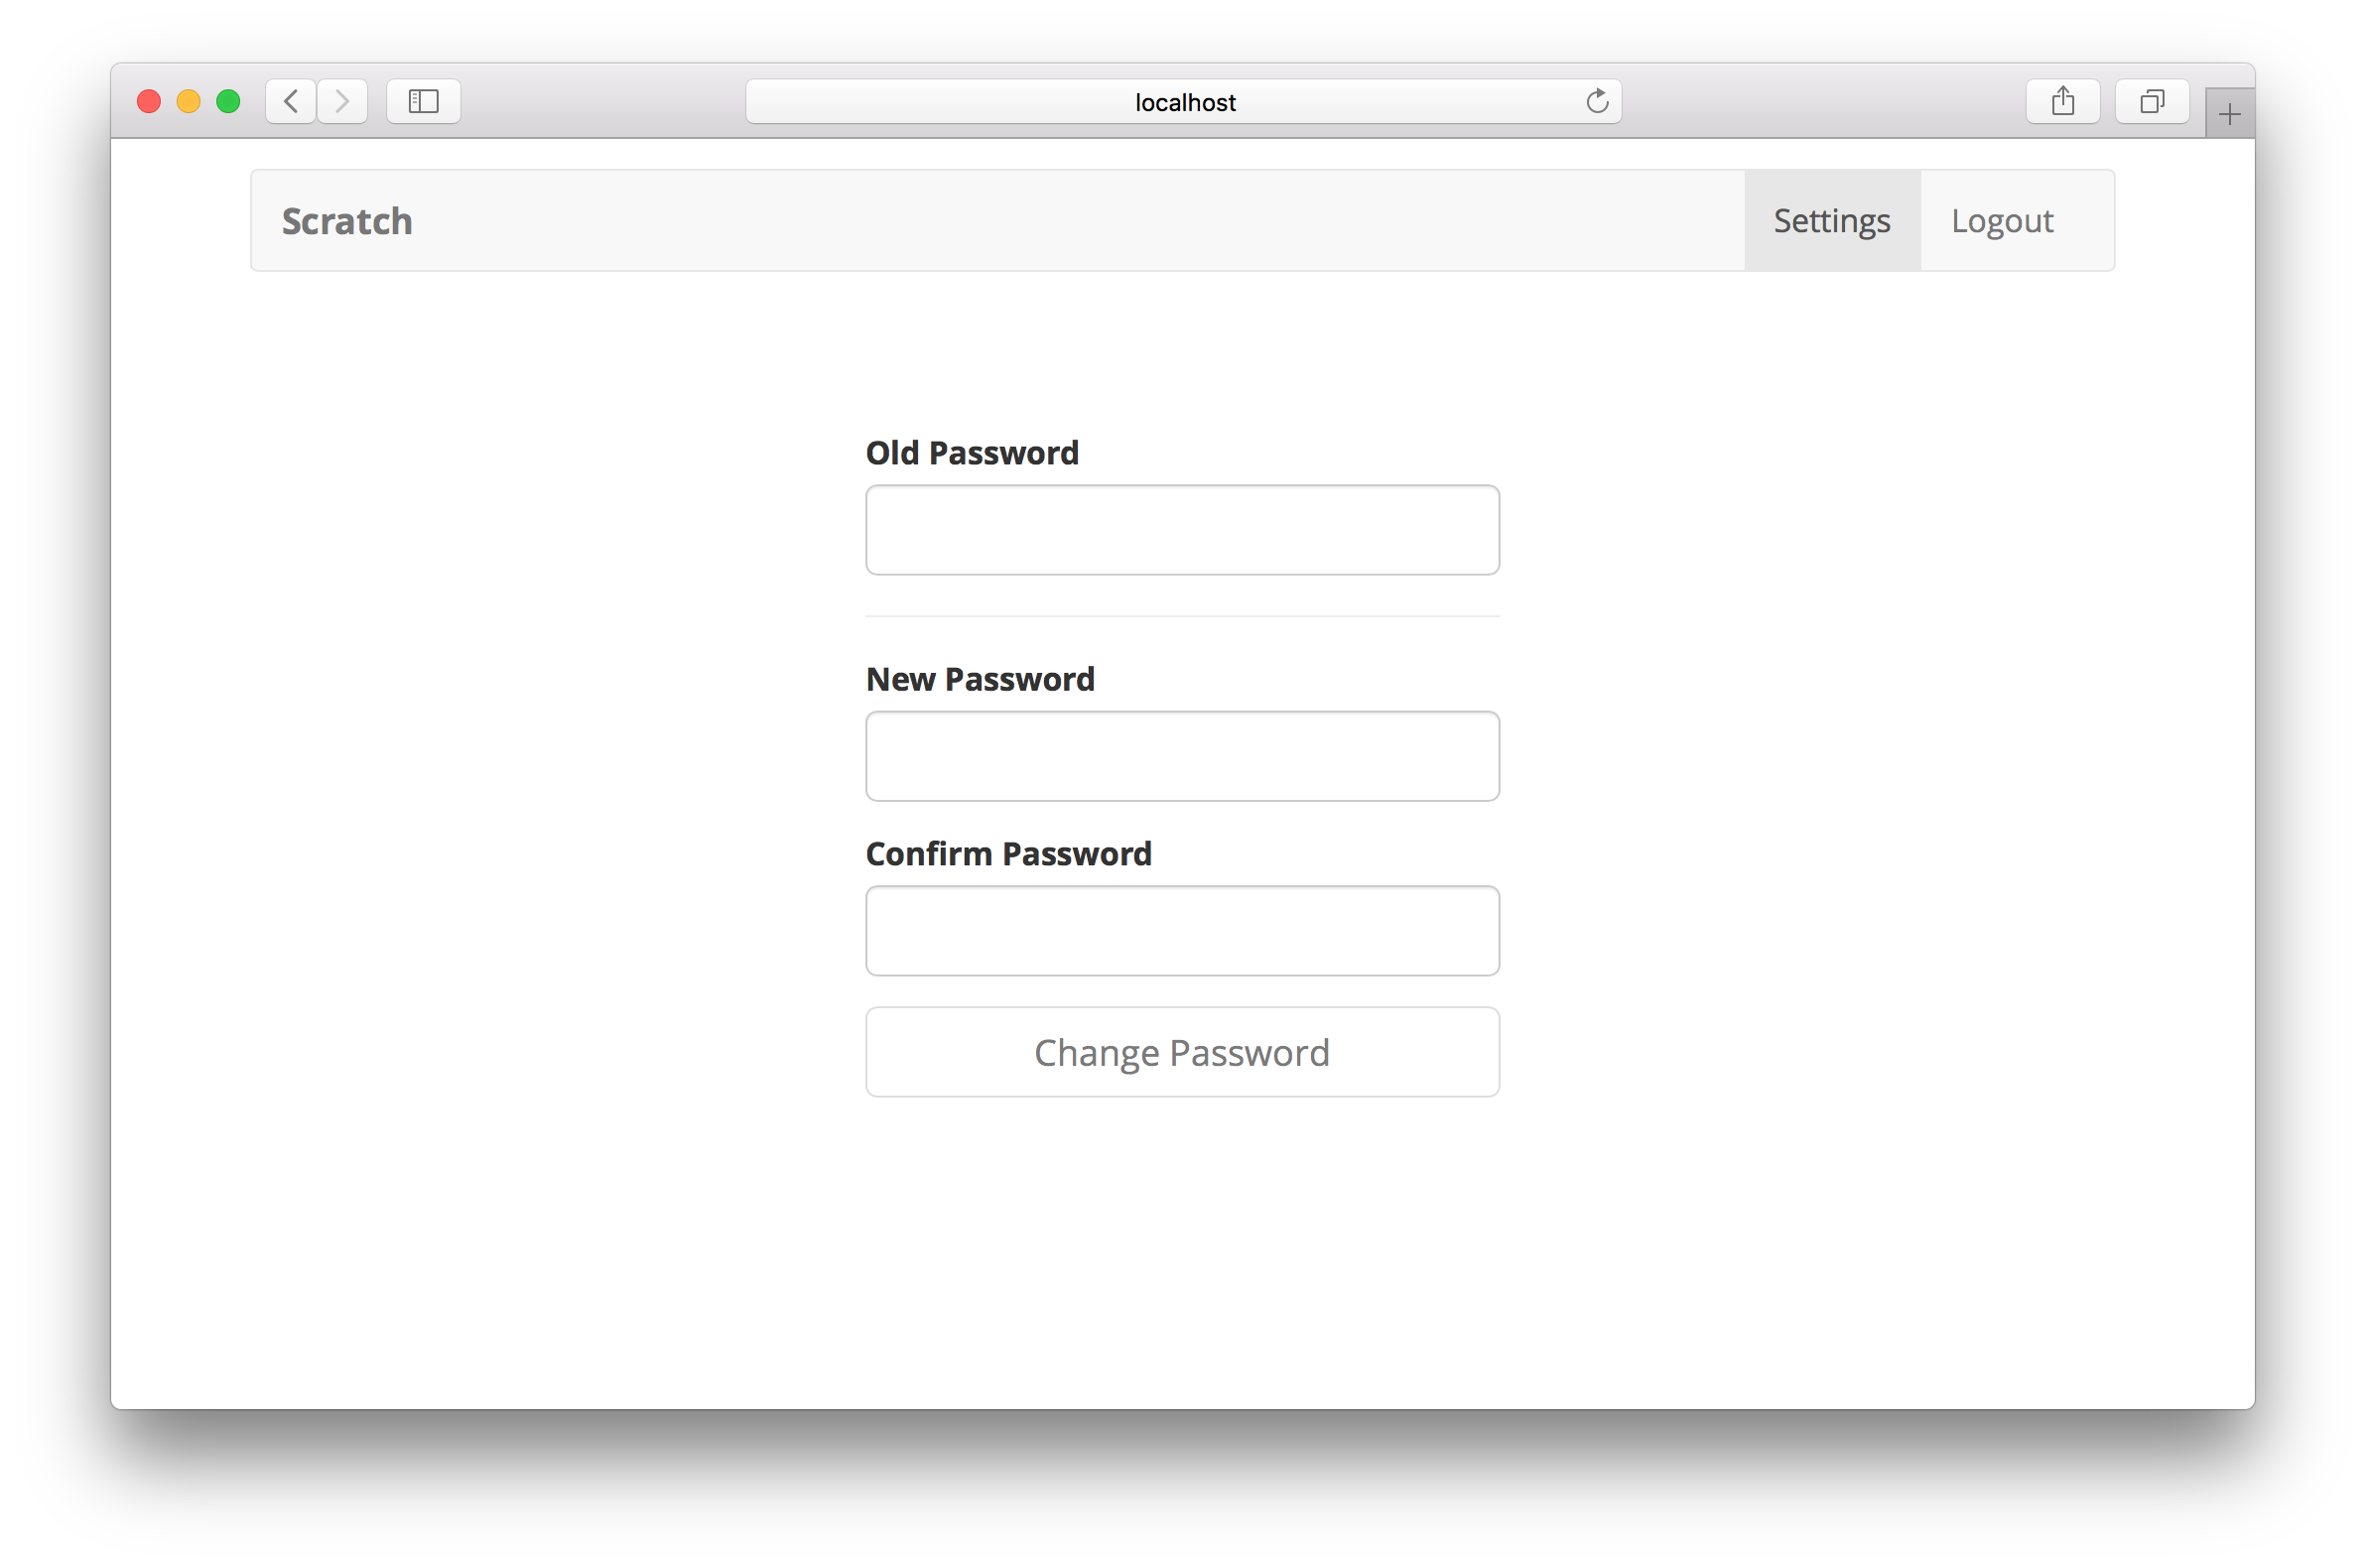
Most of this should be very straightforward. The key part of the flow here is that we ask the user for their current password along with their new password. Once they enter it, we can call the following:
const currentUser = await Auth.currentAuthenticatedUser();
await Auth.changePassword(
  currentUser,
  this.state.oldPassword,
  this.state.password
);
The above snippet uses the Auth module from Amplify to get the current user. And then uses that to change their password by passing in the old and new password. Once the Auth.changePassword method completes, we redirect the user to the settings page.
Let’s also add a couple of styles.
@media all and (min-width: 480px) {
  .ChangePassword {
    padding: 60px 0;
  }

  .ChangePassword form {
    margin: 0 auto;
    max-width: 320px;
  }
}
Let’s add our new page to src/Routes.js.
<AuthenticatedRoute
  path="/settings/password"
  exact
  component={ChangePassword}
  props={childProps}
/>
And import it.
import ChangePassword from "./containers/ChangePassword";
That should do it. The /settings/password page should allow us to change our password.
Next, let’s look at how to implement a change email form for our users.
For help and discussion
Comments on this chapterFor reference, here is the code we are using
User Management Frontend SourceIf you liked this post, please subscribe to our newsletter, give us a star on GitHub, and follow us on Twitter.
Brought to you by
